

Growing potatoes might seem intimidating at first. You may have heard complicated stories about disease management, perfect soil pH, and mysterious hilling techniques. But potatoes are far more forgiving than their reputation suggests. With clear guidance and a few key principles, anyone can grow abundant potatoes in a garden bed, raised bed, or container.
Whether you are trying to figure out why your leaves are turning yellow or simply want a reliable harvest, this guide walks you step by step from planting to storage. Along the way, you will also see how modern tools like Plantlyze can help diagnose plant problems quickly and accurately.
Why Growing Potatoes Is Worth Your Effort
Store potatoes are convenient, but homegrown potatoes are on another level. You control how they are grown, which inputs are used, and when they are harvested. You also gain access to varieties you will never see in a typical supermarket, including heirloom types, colorful flesh potatoes, and unique fingerlings.
There is something special about digging your own potatoes after months of care. It is not just food. It is a visible result of your time, patience, and commitment. That first bowl of potatoes you grew yourself will almost always taste better than anything you could buy because freshness and effort combine in a way no store can match.
One seed potato often produces five to ten pounds of potatoes under good conditions. When you compare the cost of a small bag of seed potatoes to several buckets of harvest, the economics become clear very quickly. Add the health advantage of knowing your soil, water, and treatments, and growing your own becomes even more attractive.
Select Your Potato Variety Wisely
Not all potatoes behave the same way in the garden or in the kitchen. Choosing the right variety for your goals saves frustration later.
Common Varieties for Beginners
Russet potatoes are the classic baking and frying potatoes. They produce large, starchy tubers that store well and give high yields, making them ideal if your main goal is volume and storage.
Red potatoes are waxy and hold their shape during boiling and roasting. They are perfect for salads and soups. Plants often produce many medium sized tubers, and these varieties are very beginner friendly.
Fingerling potatoes have long, narrow tubers with distinctive textures and flavors. They feel like a gourmet option straight from your own soil. Yields per plant may be lower, but their culinary appeal is high.
Yellow or gold types are versatile all purpose potatoes. They work well for boiling, mashing, roasting, and pan frying. These are an excellent choice when you want one variety to cover many kitchen tasks.
If this is your first season, start with a reliable russet or a red variety. Once you see success, you can experiment with fingerlings and specialty types without risking your entire harvest.
Prepare Your Soil Like a Pro
Soil quality will make or break your potato crop. Potatoes are not particularly demanding when it comes to nutrients, but they are very sensitive to soil structure and drainage.
Getting Soil Conditions Right
Potatoes grow best in loose, well draining soil that allows roots and tubers to expand easily. Heavy clay soil tends to stay wet and compact, which suffocates roots and encourages rot. Very sandy soil drains too fast and may leave plants thirsty.
Prepare your bed four to six weeks before planting if possible. Work the soil to a depth of eight to ten inches. Mix in three to four inches of compost or well aged manure across the top and incorporate it evenly. This improves texture, drainage, and fertility at the same time.
If you can test your soil, aim for a pH between about 5.8 and 6.5. Potatoes will grow in neutral soil as well, but slightly acidic conditions help reduce the risk of common scab, a disease that marks tuber skin with rough lesions.
If your soil feels heavy and sticky after rain, raised beds filled with a loose loam mix are often a better option. Potatoes struggle most in waterlogged situations, and raised beds give you more control.
Elemental Sulfur and Soil pH
When soil tests show a pH above neutral, gardeners sometimes use elemental sulfur to gently acidify the soil over time. Sulfur is best applied several weeks before planting so that soil microbes have time to convert it and shift pH gradually.
Follow package directions or local extension recommendations for amounts. A common guideline is roughly one to two pounds of elemental sulfur per one hundred square feet for modest pH adjustments, but exact rates depend on your starting pH and soil type.
Planting Potatoes: Timing and Technique
Preparing Seed Potatoes
Always start with certified seed potatoes rather than store potatoes. Certified seed has been grown and inspected to limit disease and virus problems. Grocery potatoes are often treated to prevent sprouting and can introduce diseases to your soil.
If seed potatoes are larger than a golf ball, cut them into pieces. Each piece should have two or three eyes, which are the small indents where sprouts form. Cut seed pieces a day before planting and allow them to sit in a cool, dry place. This short resting period lets cut surfaces dry and form a protective callus that reduces rot in the soil.
The Planting Process
For in ground beds, dig a trench about four to six inches deep. In very sandy soil, slightly shallower planting around two to four inches works better because soil warms faster.
Place seed pieces in the trench with eyes facing up, spacing them about nine to twelve inches apart. Space rows roughly thirty to thirty six inches apart so you have room to walk and to hill soil around plants later.
Cover the seed pieces with about two to three inches of soil after planting. You will add more soil as the plants grow during the hilling process, so you do not need to fill the trench completely at the start.
Timing Matters
Potatoes prefer cool soil and air temperatures. Plant outdoors when the soil can be worked and is no longer saturated with winter moisture, but after the worst frost risk has passed. In cool climates, this often means early spring. In warmer climates, fall planting is sometimes used so plants mature before intense summer heat.
Ideal soil temperature at planting is usually below around twenty four degrees Celsius. Cold soil slows sprouting but helps limit early disease problems. Planting too early in freezing conditions can cause seed pieces to rot, while planting too late in very warm weather can stress plants and reduce yields.
Always check your local frost dates and lean slightly toward caution. A short delay rarely hurts yield, but a late frost that kills emerging shoots can cost you weeks.
Keep Your Potatoes Happy: Watering and Care
Watering Best Practices
Potatoes need steady moisture, but they do not tolerate saturated soil. Aim for about one to two inches of water per week, from rain and irrigation combined. Deep, less frequent watering is better than frequent light sprinkling. Deep watering encourages roots to reach downward and creates resilience during hot spells.
Water in the morning so foliage can dry during the day. Evening irrigation that leaves leaves wet overnight can encourage fungal diseases.
Mulching is one of your best tools. Apply a layer of straw, shredded leaves, or finished compost several inches deep around plants once they are established. Mulch helps keep soil cool and moist, reduces weed growth, and protects developing tubers from light.
Monitoring Soil Moisture
The simplest moisture test is your finger. Push your finger into the soil a few centimeters deep near the plant. If it feels dry and powdery, it is time to water. If it feels moist and cool, wait and check again later.
Overwatered plants may show yellowing leaves, drooping despite wet soil, or an overall stalled look. Underwatered plants wilt and show dull, dry leaves, but recover quickly once watered. It is easier to correct dryness than chronic overwatering, so lean on the careful side if your soil drains slowly.
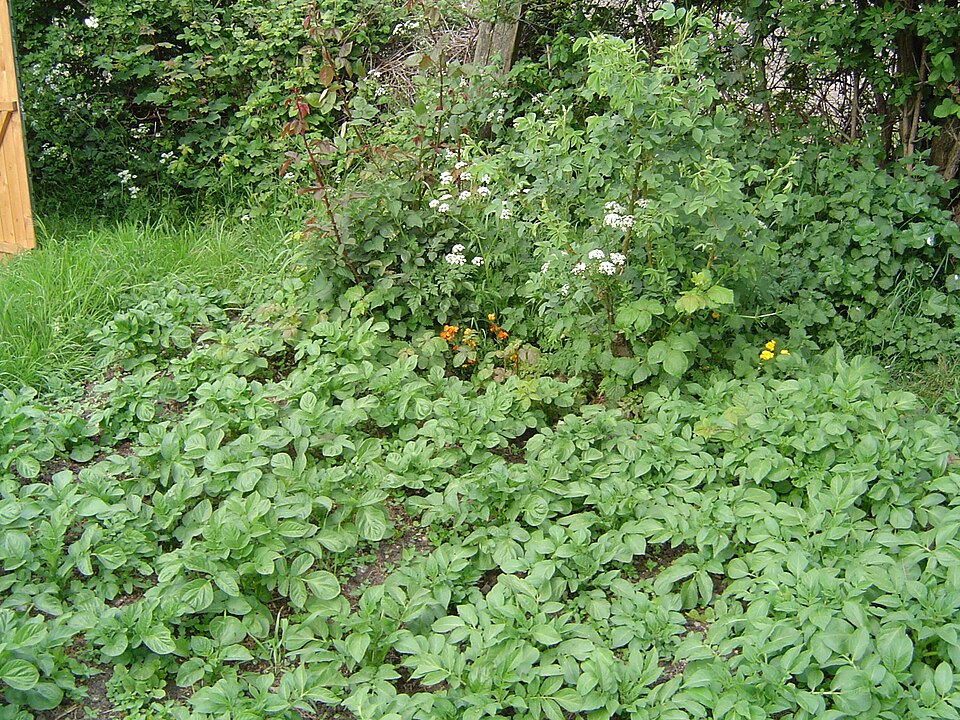
Hilling: Your Secret Weapon for Bigger Harvests
Hilling is one of the most important techniques for successful potato growing, yet it is also one of the most overlooked. This single practice has a direct impact on how many usable potatoes you harvest.
What Is Hilling
As potato plants grow, new tubers form along underground stems above the original seed piece. These developing tubers must stay buried. If light reaches them, they turn green and accumulate solanine, which is toxic in significant amounts.
Hilling is the process of pulling soil or mulch up around the stem to create a low mound. This covers the growing zone where tubers form, keeps them in darkness, and gives them more room to develop.
The Hilling Schedule
When stems reach about fifteen to twenty centimeters tall, apply the first hill. Gently pull soil from between rows or add fresh soil or compost around the base of the plant, covering the lower leaves but leaving the top leaves exposed.
Repeat this process when stems grow another ten to fifteen centimeters. Each time, cover more of the lower stem and leaves until you have a low, broad ridge of soil around the plant. Most gardeners hill two or three times per season, stopping once plants begin to flower or when hills reach roughly twenty to thirty centimeters high.
Hilling With Straw or Soil
You can hill using soil, straw, or a mixture. Soil is traditional and always available in field settings. Straw offers lighter handling, keeps soil cooler in hot climates, and is very easy to remove at harvest.
A common approach is to hill with soil early, then add a thick straw layer later in the season. This combination gives plants stable support and plenty of darkness around forming tubers.
Hilling takes a bit of time, but the payoff is very clear. Properly hilled plants usually produce more and better shaped potatoes than plants left un hilled.
Protect Your Potatoes From Common Threats
Common Potato Pests
Colorado potato beetle is one of the most recognizable pests in potato beds. Adults have yellow and black striped backs. Larvae are soft, reddish, and often found in clusters on leaves. Both stages chew leaves rapidly.
Hand picking is highly effective in home gardens. Inspect leaves every few days, crush egg masses on the underside of leaves, and drop adults and larvae into a bucket of soapy water.
Aphids are small sap feeding insects that cluster on stems and leaf undersides. Heavy infestations cause curling leaves, sticky residue, and can spread viruses. A strong blast of water can knock many off. Insecticidal soap and natural predators like lady beetles also help keep them in check.
Wireworms and white grubs damage tubers underground by boring holes into them. Crop rotation and avoiding newly converted grassland for immediate potato planting help reduce these pests.
Organic Control Methods
Organic pest management depends on observation and prevention. Yellow sticky traps help monitor flying insect levels. Regular scouting and early action are the most important tools.
Crop rotation reduces many pest and disease problems. Avoid planting potatoes or other closely related crops such as tomatoes and eggplants in the same spot more often than once every three or four years.
Several biological controls are available. Beneficial nematodes can target soil dwelling pests. Certain biocontrol products based on naturally occurring fungi or bacteria attack pest insects or diseases while sparing beneficial organisms.
Disease Prevention
Fungal diseases like late blight spread rapidly in cool, wet conditions. Provide good air flow by proper spacing, avoid overhead watering, and remove lower leaves that touch the soil once plants are established. Promptly remove and destroy heavily infected plants to protect the rest of the crop.
Early blight shows as brown spots with concentric rings on older leaves. Regular removal of affected leaves and crop rotation help limit it. Using certified seed potatoes that are free of tuber borne diseases reduces many issues before they start.
Avoid excess nitrogen fertilizer. Too much nitrogen creates lush, leafy plants that are more prone to certain diseases and produce fewer tubers.
If you see unusual spots, discoloration, or sudden plant collapse, a diagnostic tool such as Plantlyze can help you understand what you are dealing with. By uploading clear images and describing symptoms, you can receive guidance on whether it is likely a nutrient issue, pest problem, or disease and what steps to take next.
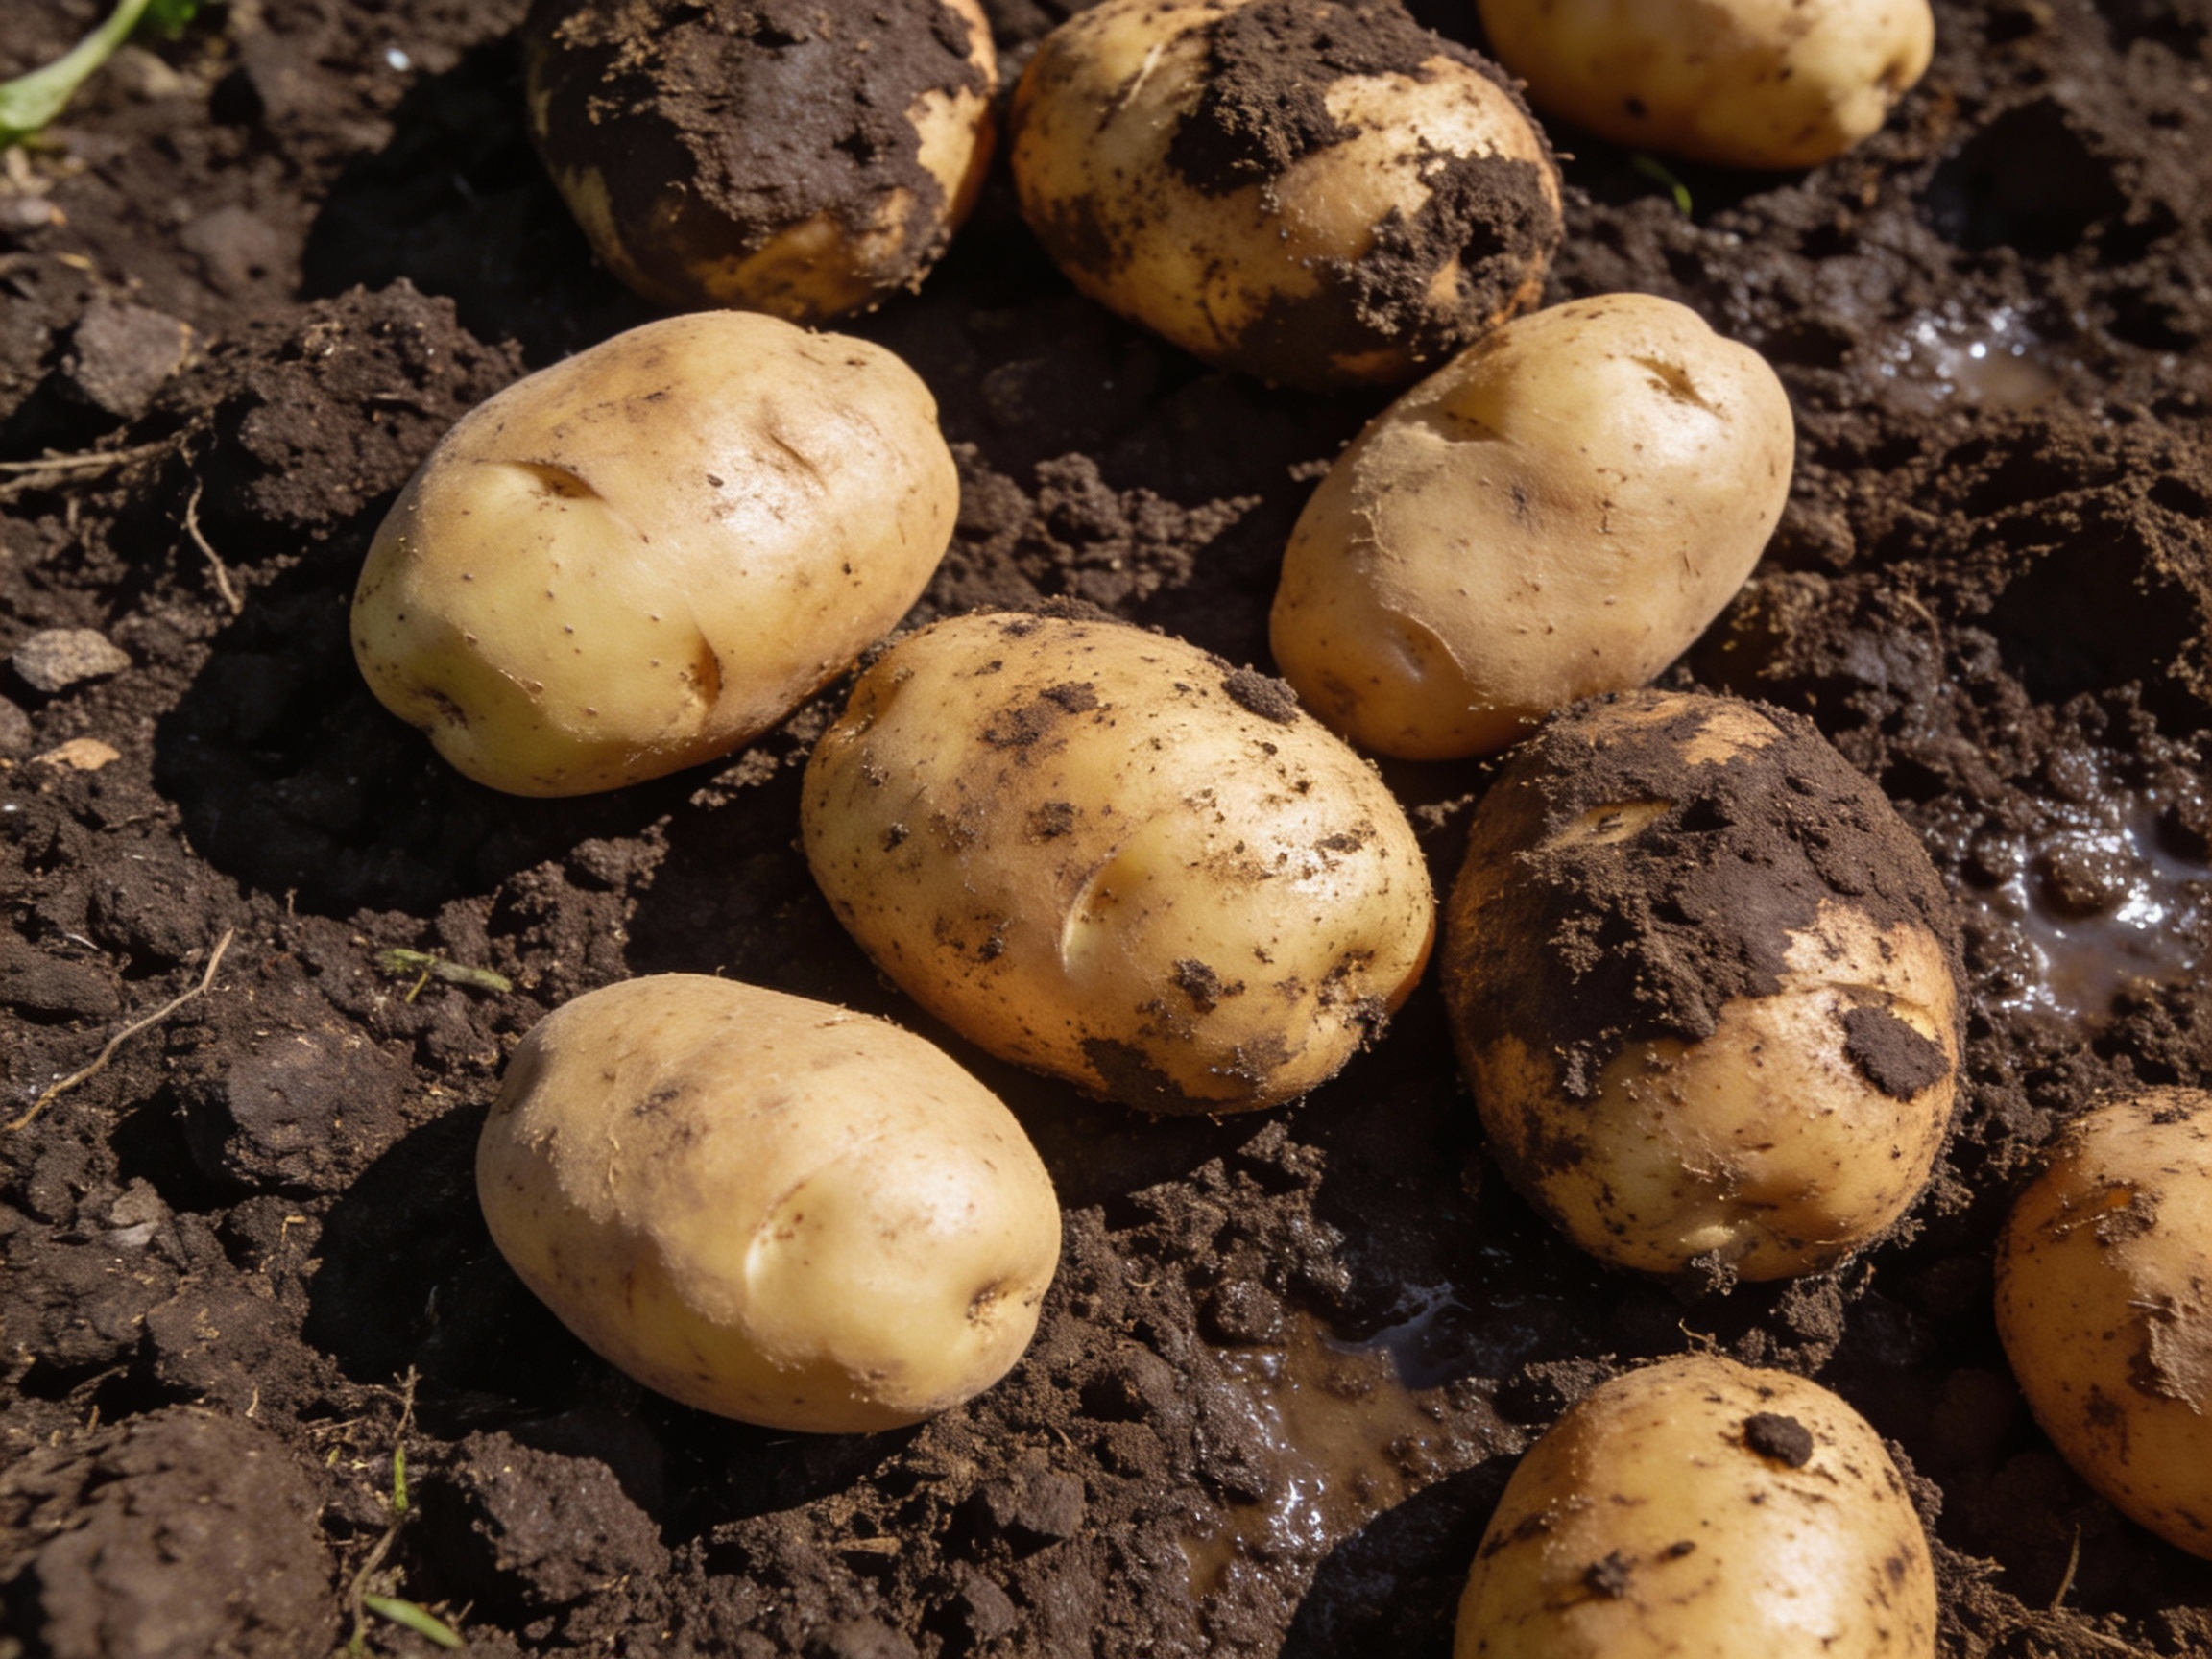
Harvest Your Bounty at the Right Time
Early Potatoes and Main Crop
You can harvest small new potatoes about sixty to seventy days after planting, depending on variety and conditions. These young potatoes have thin, tender skins that rub off easily. They are best eaten soon after harvest, as they do not store for very long.
Main crop potatoes reach full size after roughly ninety to one hundred twenty days. At this point, plants usually start to yellow and die back naturally. The skins are thicker and better suited for longer storage.
If you are unsure, gently dig around one plant with your hands or a fork to check tuber size. If they are still very small, wait another week or two.
The Harvesting Process
Stop watering about ten to fourteen days before full harvest. Slightly drier soil makes digging easier and helps skins cure.
Use a garden fork rather than a shovel to reduce the risk of cutting tubers. Start well away from the stem, insert the fork, and lift carefully. Work your way inward, loosening the soil and revealing potatoes as you go. Shake or brush off loose soil and set potatoes in a shaded place while you finish digging the bed.
Cure your harvest in a cool, dark, well ventilated location for seven to fourteen days. Ideal curing temperatures are around ten to fifteen degrees Celsius. During curing, small cuts and scrapes heal over and skins toughen for better storage.
Storage Tips
After curing, sort potatoes. Use any damaged or cut ones first, as they will not keep as long.
Store sound potatoes in a dark place with good airflow at about seven to ten degrees Celsius. Too cold and the starch converts to sugar and changes flavor. Too warm and potatoes sprout and shrivel more quickly.
Avoid storing potatoes near apples and other fruit that release ethylene gas, which can speed sprouting. Check your stored potatoes every few weeks and remove any that show signs of spoilage so they do not affect their neighbors.
Mistakes to Avoid on Your First Try
Many beginners run into the same problems, but knowing them ahead of time helps you avoid them.
Overwatering is probably the most common mistake. Constantly wet soil starves roots of oxygen and invites rot. Remember that potatoes like moist, not saturated, soil.
Skipping hilling leads to green potatoes. Without enough soil or mulch pulled around stems, tubers near the surface are exposed to light and become unusable.
Planting too early into cold, waterlogged soil can cause seed pieces to rot before they have a chance to sprout. Plant soon after the soil has dried and warmed slightly, and after the worst frost danger has passed.
Crowding plants by ignoring recommended spacing creates competition for light, moisture, and nutrients. Crowded plants often produce many small tubers rather than fewer larger ones.
Harvesting the entire crop too early gives you undersized potatoes that do not store as well. If you want early new potatoes, harvest just a few plants and leave the rest to size up.
Poor drainage is a silent yield killer. When in doubt, improve drainage with raised beds, soil amendments, or container growing.
These are not failures. They are lessons that almost every gardener encounters. Learning them now simply helps you move faster toward consistent success.
Grow Potatoes in Containers for Flexibility
Container growing is a powerful option if you have limited space, poor soil, or only a balcony or patio to work with.
Choose containers of at least about twenty liters volume, with generous drainage holes at the bottom. Larger containers support more tubers and more stable moisture.
Fill containers with a loose, well draining mix rather than pure garden soil. A blend of compost, coco coir or peat, and coarse sand or perlite works well. Plant one or two seed pieces per typical bucket sized container, depending on diameter.
Water container potatoes more frequently than in ground plants. Containers dry out faster, especially in sunny or windy locations. During hot weather, you may need to water once a day.
You can use soil, straw, or a combination to hill potatoes in containers. Many gardeners start with a shallow layer of mix, plant seed pieces, and then gradually add more mix or straw as stems grow, leaving the upper leaves exposed. At harvest time, simply tip the container out and pull tubers from the loose material.
You Are Ready To Grow Potatoes
Potato growing is not a mysterious art reserved for experts. It is a sequence of simple decisions and habits. You choose appropriate varieties, prepare loose, well drained soil, plant at the right time, water consistently, hill as plants grow, monitor pests and diseases, and harvest at the right stage.
If you follow the guidelines in this guide and stay observant, your first harvest will feel like uncovering buried treasure. Each potato you dig up is proof that careful preparation and steady attention pay off in real, tangible food.
When something looks off, you do not have to guess. Yellowing leaves, brown spots, curling, or strange growth can all point to different issues. Instead of searching through dozens of conflicting opinions, you can use a tool built specifically for plant diagnosis.
Plantlyze is an AI powered plant care and diagnosis tool that analyzes clear images and your description of symptoms to suggest likely causes and next steps. Whether you are dealing with suspected blight on potatoes, nutrient issues on tomatoes, or pests on houseplants, Plantlyze helps you make informed choices with confidence.
Visit Plantlyze dot com to upload photos, describe what you are seeing, and get fast, intelligent feedback on what your plants need. With solid growing fundamentals and reliable diagnostics at your side, each season becomes an opportunity to grow more and worry less.
References
Utah State University Extension – https://extension.usu.edu/vegetableguide/potato/planting-spacing
Colorado State University Extension – https://extension.colostate.edu/
EOS Agronomic Solutions – https://eos.com/blog/how-to-grow-potatoes/
BioProtection Portal – https://bioprotectionportal.com/resources/a-guide-to-managing-potato-pests-with-biocontrol/
Melissa K. Norris (Pioneering Today) – https://melissaknorris.com/pioneering-today-how-to-plant-and-grow-potatoes/


